Japan’s Tourism Boom: Navigating Your Arrival with Ease
Win a Free Trip to Japan!
Experience cherry blossoms and ancient temples
Japan is currently experiencing an unprecedented surge in tourist arrivals, with thousands of visitors entering the country each day. This influx can create a chaotic atmosphere, making it essential for travelers to streamline their immigration and customs processes before landing in Japan. Fortunately, the good news is that you can complete these procedures online, significantly reducing stress during your journey.
A friendly, masked Hello Kitty greeted us in Tokyo during the pandemic, serving as a reminder of the evolving travel landscape. In this guide, we’ll explore how to simplify your entry into Japan using a platform known as Visit Japan Web. Below are the key topics we will cover:
- What is Visit Japan Web?
- Is Visit Japan Web mandatory for entry into Japan?
- Step-by-Step Guide to Using Visit Japan Web:
- Step 1: Create a Visit Japan Web account
- Step 2: Provide details of all visitors traveling to Japan
- Step 3: Register your trip to Japan on Visit Japan Web
- (Optional) Adding family members to your Visit Japan Web account
- Step 4: Complete Immigration Clearance
- Step 5: Submit Customs Declaration
- What to expect upon landing at the airport in Japan?
What is Visit Japan Web?
Visit Japan Web is Japan’s innovative online service designed to facilitate immigration procedures and customs declarations for travelers. Launched in November 2022 amidst the COVID pandemic, this platform aimed to verify vaccination statuses for tourists. As Japan has since lifted its COVID-related entry requirements, Visit Japan Web has evolved into a valuable tool for visitors to complete essential immigration and customs tasks before arriving in Japan, ensuring a smoother experience at the airport.
Is Visit Japan Web Mandatory for Entry into Japan?
No, using Visit Japan Web is not a requirement for entering Japan. However, it is highly recommended for several reasons. You could theoretically arrive in Japan without going through Visit Japan Web, but you would still need to fill out a physical immigration arrival card upon landing—a process that can be cumbersome. By utilizing Visit Japan Web, you can streamline your customs declarations simultaneously, making your arrival much more efficient. Since the service is free, fast, and entirely online, the advantages are clear. Furthermore, if more travelers use Visit Japan Web, it will help expedite the immigration lines for everyone!
Step-by-Step Guide to Using Visit Japan Web
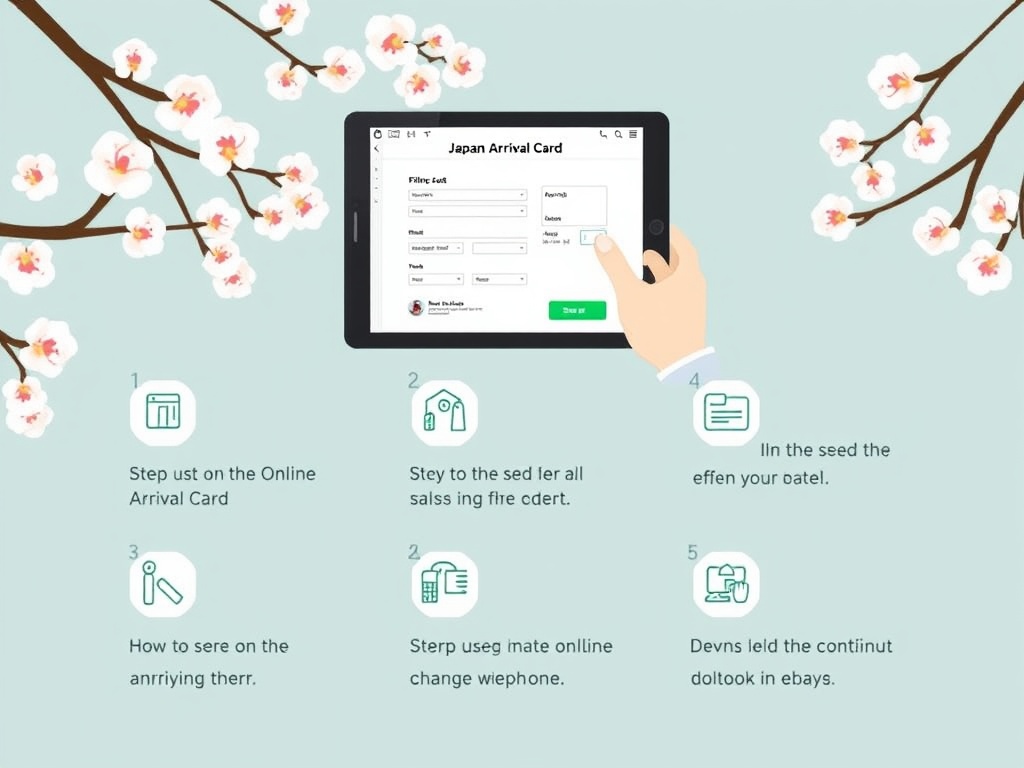
The process of utilizing Visit Japan Web is straightforward and can be completed online. To help you navigate this process, here’s a detailed breakdown:
- Step 1: Create a Visit Japan Web account
- Step 2: Provide details of all visitors traveling to Japan
- Step 3: Register your trip to Japan on Visit Japan Web
- (Optional) Adding family members to your Visit Japan Web account
- Step 4: Complete Immigration Clearance
- Step 5: Submit Customs Declaration
Step 1: Create a Visit Japan Web Account
If you haven’t created a Visit Japan Web account yet, you can register for an account here. Registration is free and simple. All you need is an email address to create your account and a password of your choice. After registering, you’ll receive a 6-digit verification code via SMS, which you must enter on the site to proceed to the next step.
💡 Save your Visit Japan Web account credentials! You can reuse this account for future travels to Japan, so ensure you keep your username and password secure. Typically, each adult traveler needs their own account, while children under 18 can be added under their parent or guardian’s account. Some travelers have successfully registered their spouses or parents on one account, allowing them to navigate immigration easily, which I will elaborate on in Step 2.
Step 2: Provide Details of All Visitors Traveling to Japan
Once your account is ready, log in using the credentials you set up in Step 1. Then, click on the Your Details button and fill in the required form. It’s straightforward, but ensure that your passport number is entered correctly and matches the passport you’ll use to enter Japan.
If you’re traveling with family: After registering your details, you can also add your family members to your account. I will explain how to do this in more detail below.
Step 3: Register Your Trip to Japan on Visit Japan Web
Next, click on + New Registration to register your trip to Japan. If you plan to visit multiple times, you can create separate registrations for each trip. Be sure to assign a unique name for each trip to keep things organized. If you’ve added family members in the previous step, you can indicate that they will be traveling with you on this trip, as their names will appear in a dropdown for selection.
(Optional) Adding Family Members to Your Visit Japan Web Account
If you’re traveling with family, you can easily add them to your Visit Japan Web account. Here’s how:
1. Add Your Family Member’s Details to Your Visit Japan Web Account
After registering yourself, you can add family members by clicking on Details of Family Members Traveling with You. You’ll need to provide their passport number and personal information, similar to what you did for yourself.
2. Include Your Family Member in Your Trip Plan
Once you’ve entered your family member’s details, you can select their name when registering your trip. Make sure they are checked under Family Members Traveling with You on the confirmation page. If you forget to include anyone during your initial registration, you can easily edit the existing trip plan to add them.
Can you add extended family members to your Visit Japan Web account? Generally, each adult should have their own account, but there have been instances where travelers successfully added spouses or parents under Details of Family Members Traveling with You. If you choose this route, ensure that each adult has a screenshot of their QR code upon arrival, which you can obtain after completing immigration clearance—this is the next step.
Step 4: Complete Immigration Clearance
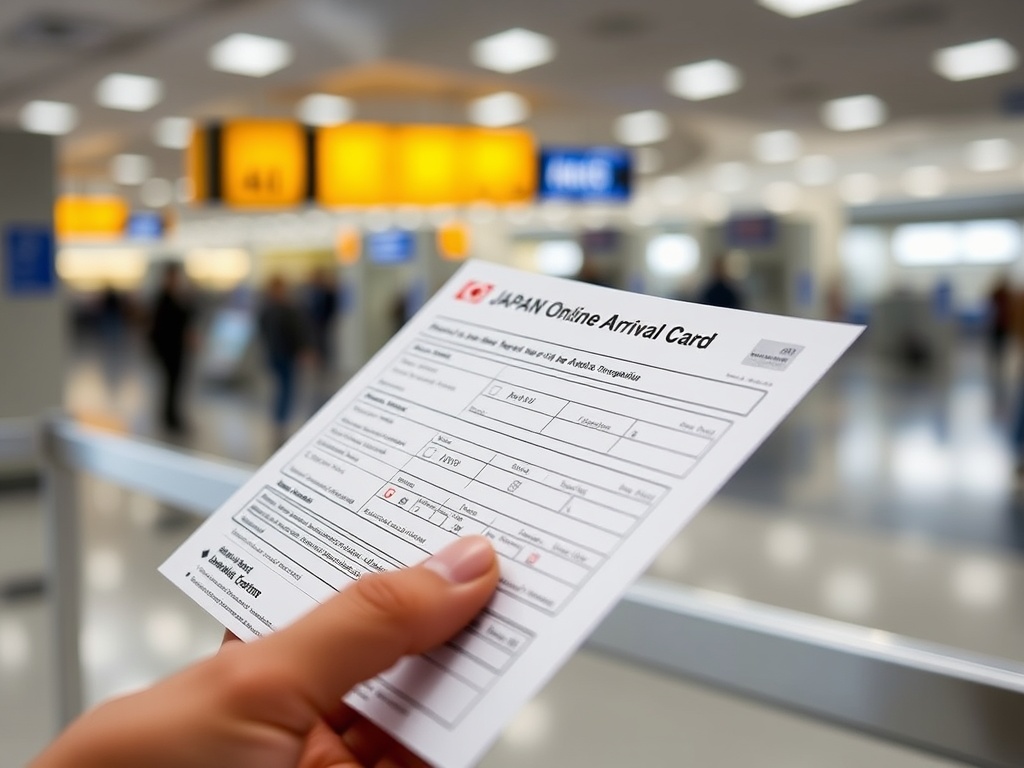
If you’re a resident of Japan, you can skip this step. For visitors, the next step is to complete your immigration clearance by filling out the disembarkation card. This process has been digitized, so you no longer need to fill out information on paper, making it quicker and more efficient.
After completing the form, you will receive a QR code to present at the immigration counter. I recommend taking a screenshot of this QR code for convenience. You will still receive your passport stamp as per usual upon passing through immigration.
If you’ve added family members, you’ll need to complete an arrival card for each traveler, each generating its own QR code. Be sure to screenshot each one to facilitate a smooth immigration process.
Step 5: Submit Customs Declaration
Similar to the disembarkation card, you can also submit your customs declaration online, allowing you to breeze through customs upon arrival in Japan. This process has also been digitized, making it quicker than ever.
Unlike the arrival card, you can include family members in the customs declaration to simplify the process. Once you complete this step, you will receive another QR code, which you’ll need to screenshot for use upon arrival.
After clearing immigration, look for a machine in the baggage claim area to register your passport and QR code for customs. This will allow you to join a designated line specifically for travelers with QR codes, expediting your exit from the airport.
(Optional) Travel Insurance and Emergency Contacts
If you have travel insurance, you can enter that information along with an emergency contact in case of any unexpected situations during your stay in Japan. However, this step is entirely optional.
(Optional) Tax-Free QR
Japan offers tax-free shopping for purchases exceeding 5,000 yen at participating stores. Typically, you would need to present your passport for verification. However, if you obtain a Tax-Free QR code from Visit Japan Web, you won’t need to show your passport at the point of purchase, though it is still advisable to carry your passport or another form of identification.
And that’s it! You’ve successfully utilized Visit Japan Web.
What to Expect Upon Landing at the Airport in Japan
Based on my experience, having the immigration QR code was invaluable when I arrived at Haneda Airport. I saved each family member’s QR code by taking screenshots after completing the immigration form on Visit Japan Web. At the immigration counter, I simply scanned the appropriate QR code for each family member as directed by the officer.
Once we reached the baggage claim area, I completed our customs clearance at one of the available machines. This efficiency allowed us to join a faster line compared to travelers who had to fill out paper forms and wait in longer queues.
Additional Tips for a Smooth Travel Experience in Japan
Visiting Japan is undoubtedly one of the most exciting experiences for travelers. Here are a few more tips to enhance your journey:
- Purchase an eSIM – During my latest trip to Japan, I used an eSIM provided by Klook, which was both cost-effective and reliable throughout Tokyo.
- If you enjoy my writing style, feel free to check out all my posts related to Japan for more insights to prepare for your visit.
That’s all about completing your arrival card for your trip to Japan! If you have any questions or need further assistance, please let me know in the comments below! 😊


